Administration Interface
This interface allows you to create and manage your projects, add users, configure their permissions, and archive your projects.
Authentication
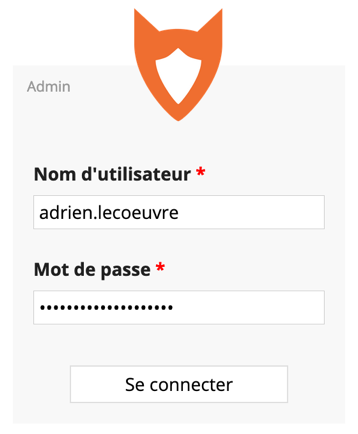
Authentication is done via the login portal shown below. The username and password are sent by email. The username is usually (by convention) in "firstname.lastname" format. After entering the username and password, click "Log in".
Administration Panels

The home page is presented as follows. It can be schematically broken down into 3 parts. The banner [1] allows you to configure the page display. You can show (or hide) one or two panels by selecting (or deselecting) the panel(s) of interest. By default, the "Projects" [2] and "Users" [3] panels are selected.

Project Management
To create a new project, you must log in to the administrator interface, display the "Projets" (Projects) configuration panel [1], and then click "Create a project" [2].

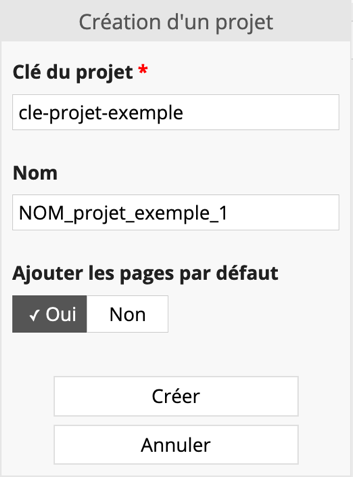
A new window appears ("Create a project"). You must define a project key ("Project key"), a project name ("Name"), and you will have the choice to add (or not) default pages ("Add demo pages").
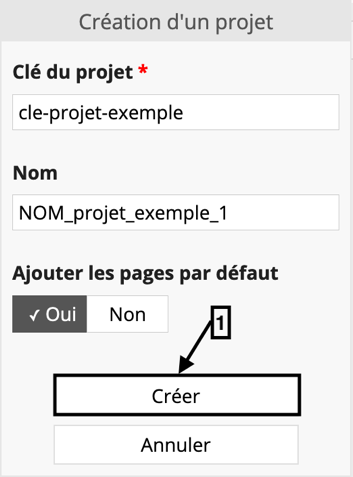
The project key will appear in the project URL. Its format must be alphanumeric and cannot exceed 24 characters. Uppercase letters, accents, and special characters are not allowed (except for the hyphen or dash, '-'). The project name corresponds to the name you want to give your project. Its format can be numeric or alphanumeric. Uppercase letters and special characters are allowed. The "default pages" are example pages tgat help you get familiar with designing an eCRF with Goupile and provide an initial working base. If you are already familiar with designing an eCRF with Goupile, you can click "No". After filling in the various fields, click "Create" [1].
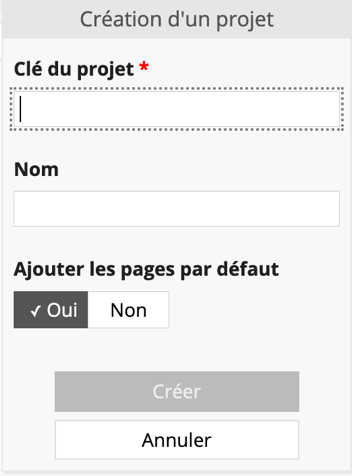
Once your project is created, several menus are available via the "Projects" configuration panel: "Split" [1], "Permissions" [2], "Configure" [3], and "access" [4].

By default, projects are single-center. To transform a single-center project into a multi-center project, you can use the "Split" option.
The "Split" option allows you to subdivide your initial project into different sub-projects. A new window appears ("Division de your project key" - Splitting your project key). You must then enter a sub-project key and a sub-project name following the same constraints as those mentioned for the project key and name. After filling in the various fields, click "Create" [1].
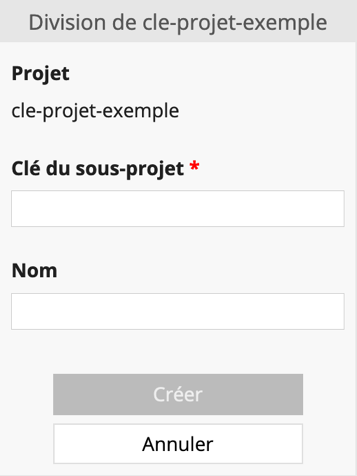
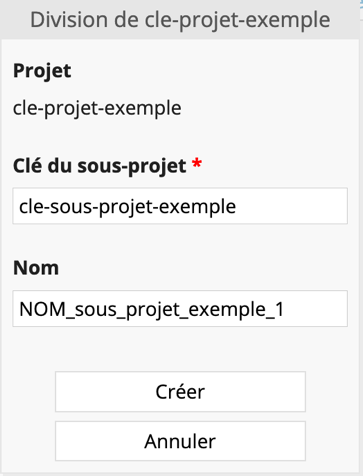
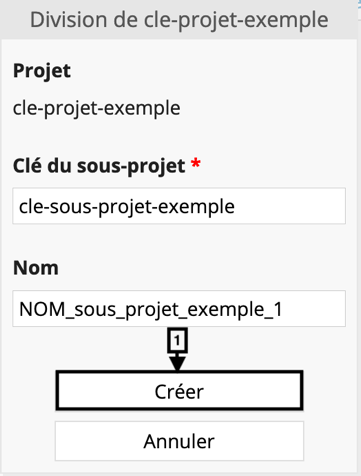
Once your sub-project is created, several menus are available via the "Projects" configuration panel: "Permissions", "Configure", and "access".

The "Permissions" option allows you to create a new user ("Create new user"), modify a user's settings ("Edit"), and assign permissions to a user ("Assigne") for your project (or sub-project depending on the selection made).

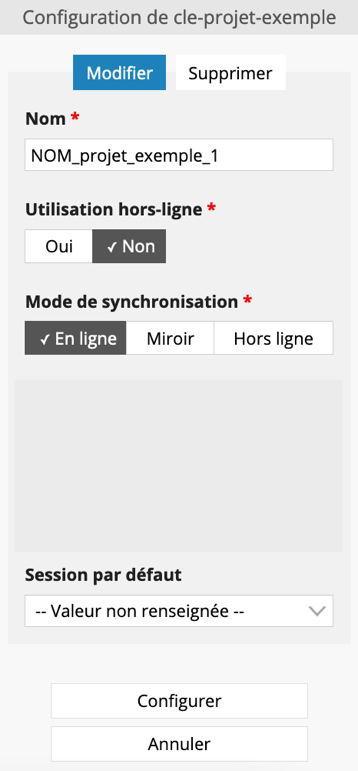
The "Configure" option allows you to modify your project's settings ("Edit") or delete your project ("Delete").
The "Edit" tab allows you to change your project's name, enable (or disable) offline use (by default the option is not enabled), change the synchronization mode (by default the synchronization mode is "Online" - Online), and set the default session. Offline use allows the application to function without an internet connection. The "Online" (Online) synchronization mode corresponds to a copy of the data on the server, the "Offline" (Offline) synchronization mode corresponds to a local copy only (on your machine) of the data without a copy on the server. The default session allows displaying the session of a given user upon login.
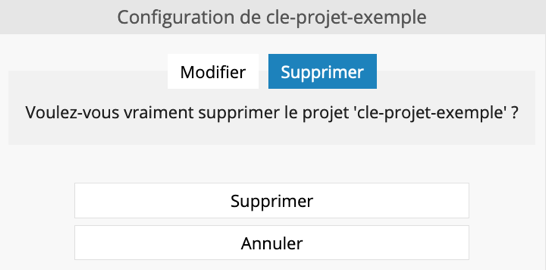
The "Delete" tab allows you to delete your project.
User Management
To create a new user, you must log in to the administrator interface, display the "Users" configuration panel [1], and then click "Create a user" [2].

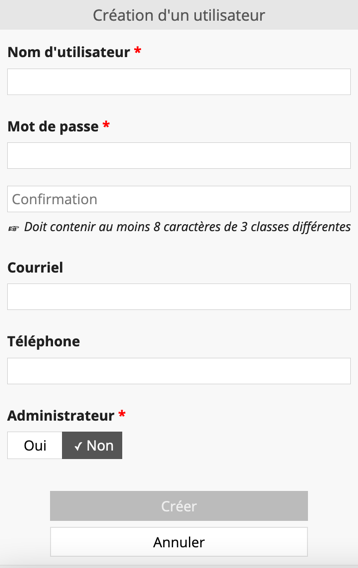
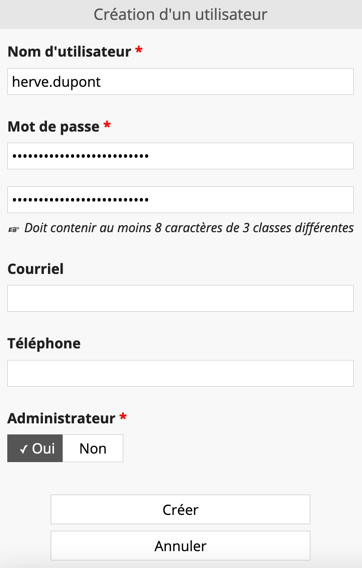
A new window appears ("Create new user"). You must define a username, a login password, and their super-administrator (or root) status. Root users can access the admin panel. You can complete this information with an email address and a phone number, but this is optional.
The username corresponds to the user's name. It can be numeric or alphanumeric. Uppercase letters and special characters (except for the hyphen '-', underscore '_', and period '.') are not allowed. We recommend a username in the format: "firstname.lastname".
The required password complexity depends on the user type:
- Normal users or those with administration rights on one or more projects must use a password of at least 8 characters with 3 character classes, or more than 16 characters with 2 different classes.
- Super-administrators (root) must use a complex password, evaluated by a password complexity score.
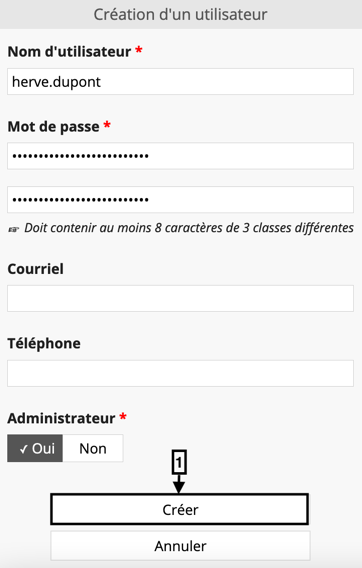
After filling in the various fields, click "Create" [1].
Once your user is created, a menu is available via the "Users" configuration panel: "Edit".
The "Edit" tab allows you to modify the username, password, email, phone number, and administrator status of the user.
The "Delete" tab allows you to delete the user.
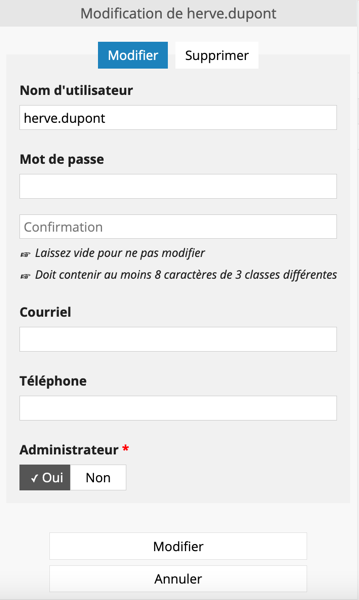
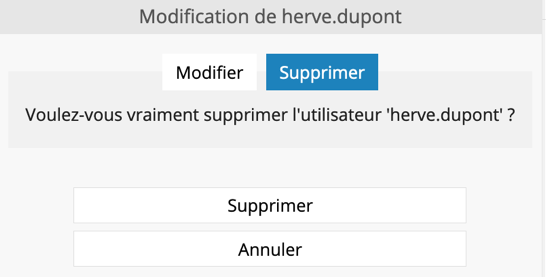
To assign rights to a user for a given project, you must display the "Projects" configuration panel [1] and click on the "Permissions" option of the project of interest [2].

The "Users" configuration panel then appears to the right of the "Projects" configuration panel. You can assign rights to a given user via the "Assigne" menu of the user of interest [1].

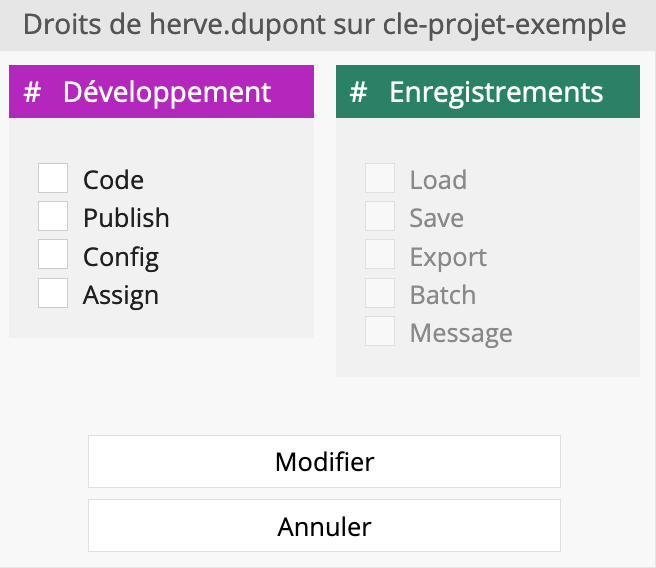
A new window opens ("Rights of your user on your project key"). You can assign development or record rights to your user.
Development rights include:
| Right | Explanation |
|---|---|
| Develop | Modify forms |
| Publish | Publish modified forms |
| Configure | Configure the project and centers (multi-center) |
| Assign | Modify user rights on the project |
Record rights include:
| Right | Explanation |
|---|---|
| Read | List and read records |
| Save | Modify records |
| Export | Easy data export (CSV, XLSX, etc.) |
| Batch | Recalculate all calculated variables on all records |
| Message | Send automated emails and SMS |
Note that record rights can only be configured after having first edited an initial version of the eCRF.
Archives

The "Archives" panel allows you to create a new archive ("Create an archive"), restore ("Restore"), delete ("Delete"), or upload ("Uploade an archive") an archive.
An archive saves the state of (forms and data) at the moment it is created. Once the archive is created, you can download the created file (with the .goarch extension) and store it securely using an appropriate means.
Warning, to be able to restore this file, you must keep the restoration key that was communicated to you when the domain was created. Without this key, restoration is impossible and the data is lost. Furthermore, it is strictly impossible for us to recover this key if you lose it.