Main Interface
Interface layout
When you open a new Goupile project, you will see the following interface:
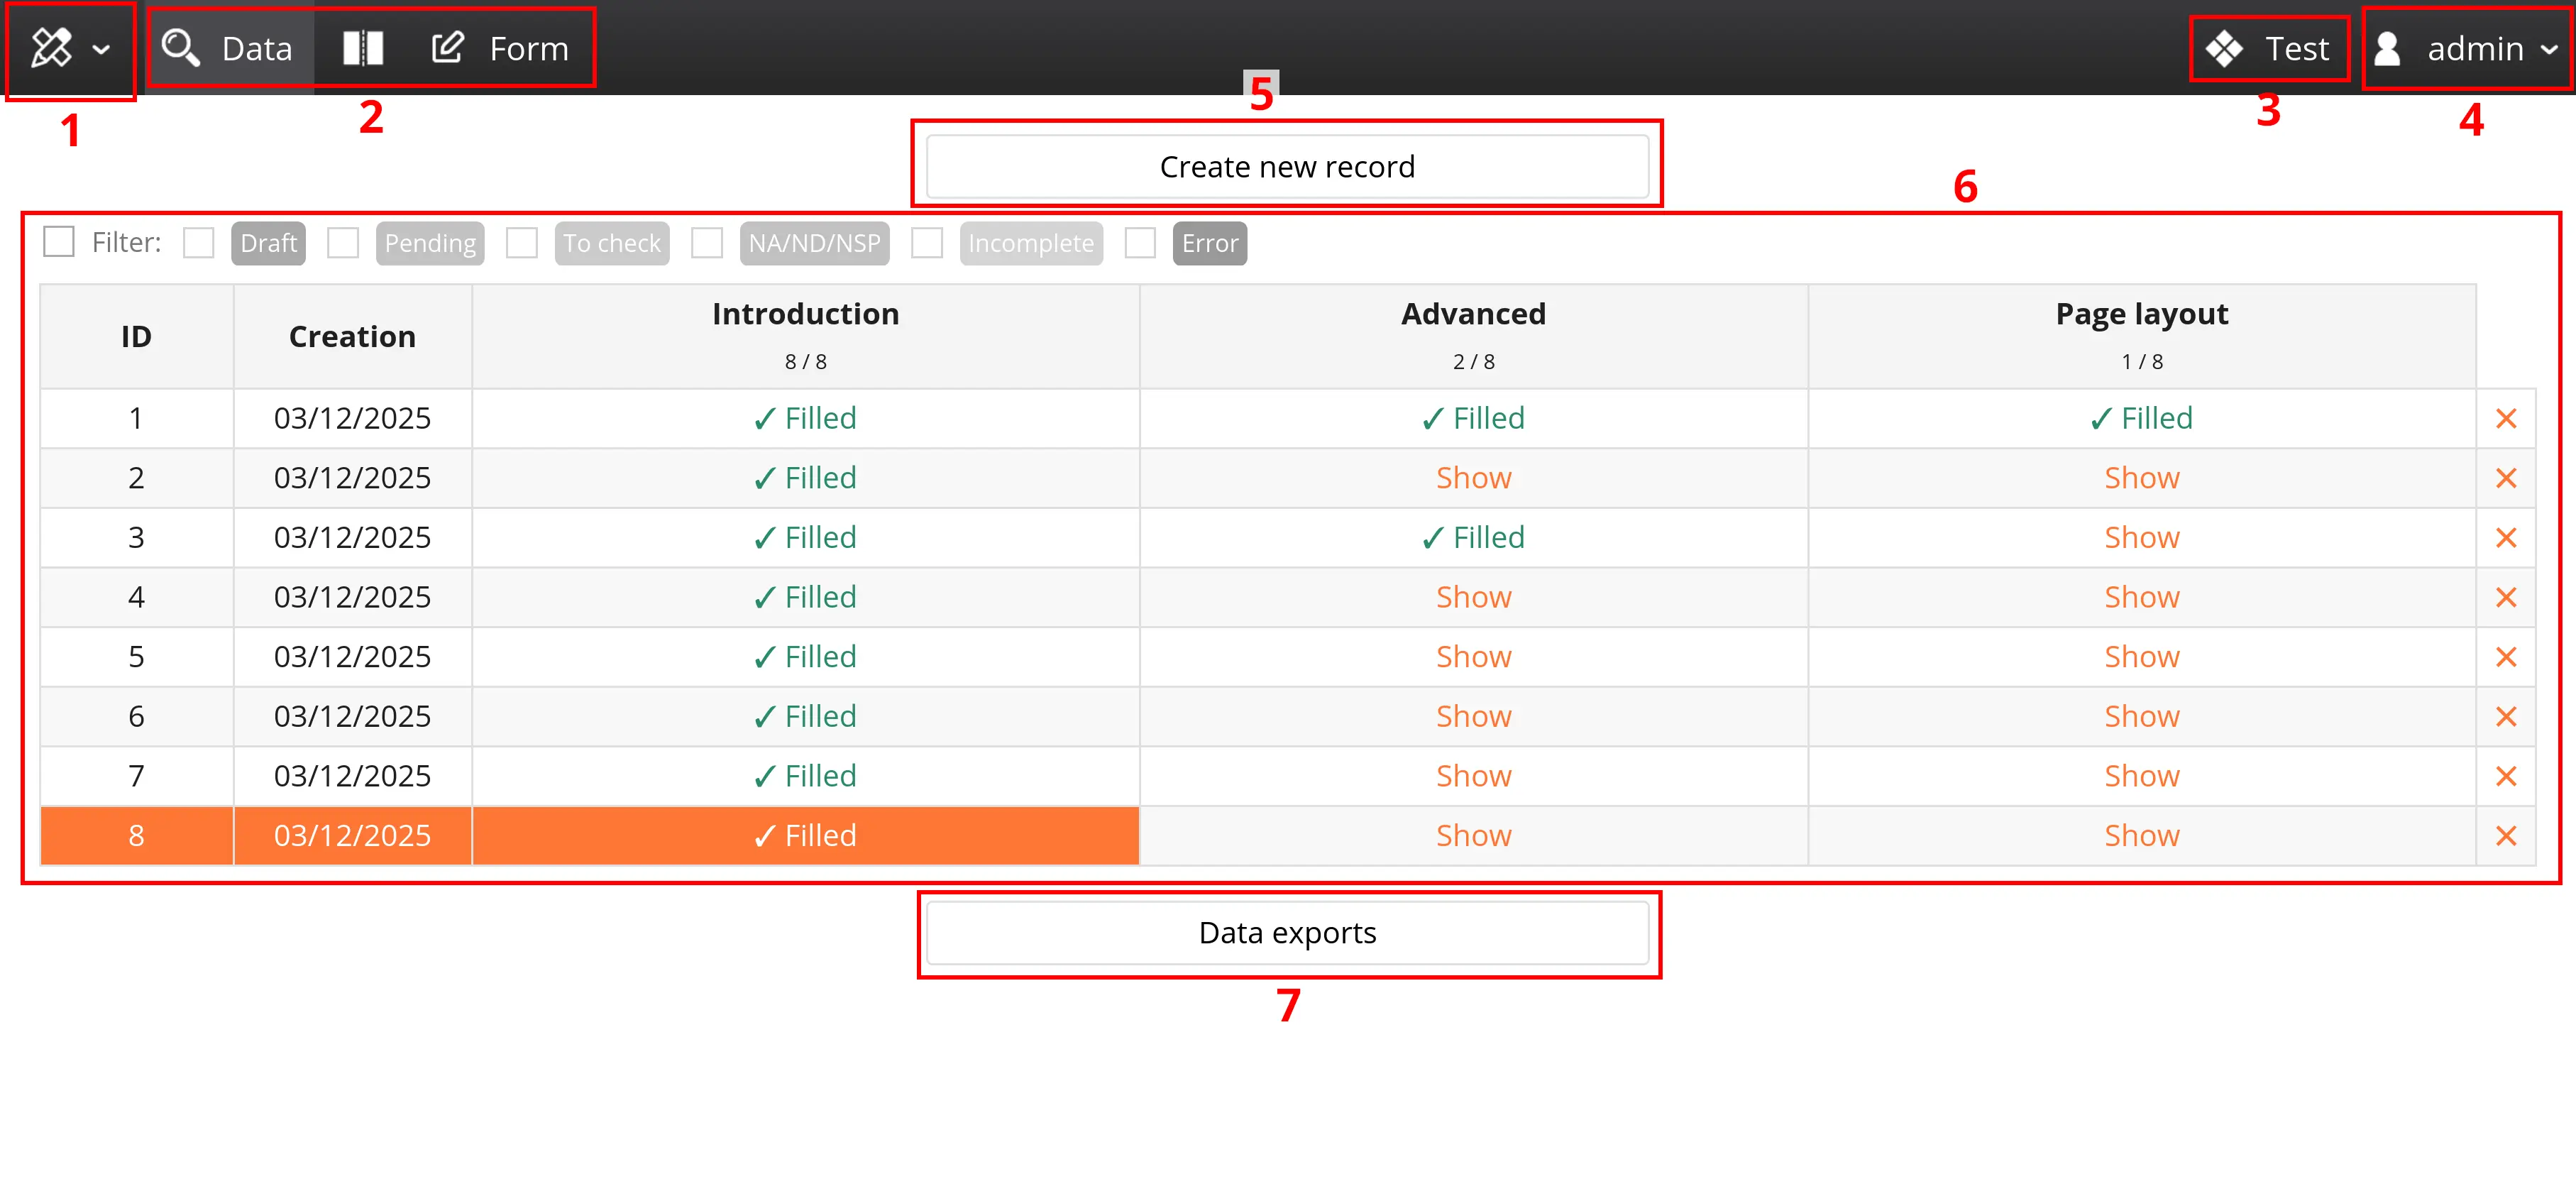
Main menu
The main menu corresponds to the black bar at the top of the page. It contains the following items:
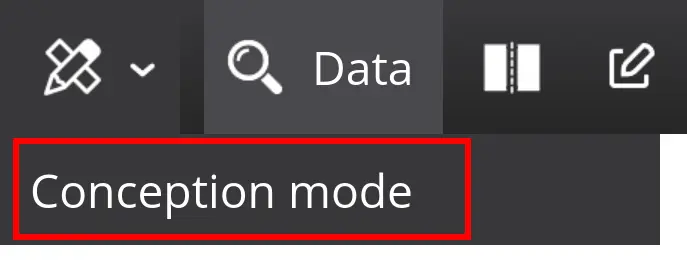
- The conception menu, which allows you to enable or disable the conception mode, where you can modify the forms.
- The panel buttons, which allow you to choose between the data entry table, the form/page view, or the dual-panel mode.
- The project title, in multi-center studies, this becomes a dropdown menu which gives to each center.
- The user menu, which allows you to edit your profile settings (such as changing your password), access the administration panel, or log out.
Data entry table
The data panel contains two main elements:
- The record creation button to enter new data.
- The list of records, which includes several columns: a sequential identifier, the creation date, and a status column for each page.
- The export buttons, which allow you to create a new export or retrieve previously generated exports.
Consult the documentation on the data table and exports to learn more about this, particularly about the display filters located above the list.
Status and Pages
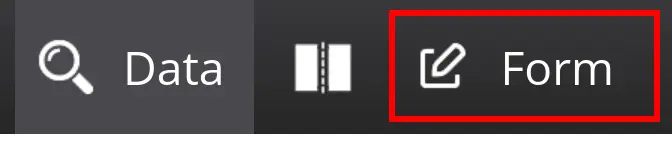
Click on the "Create a record" button or the form panel icon (screenshot below) to access the current form, as shown below:
Completion status
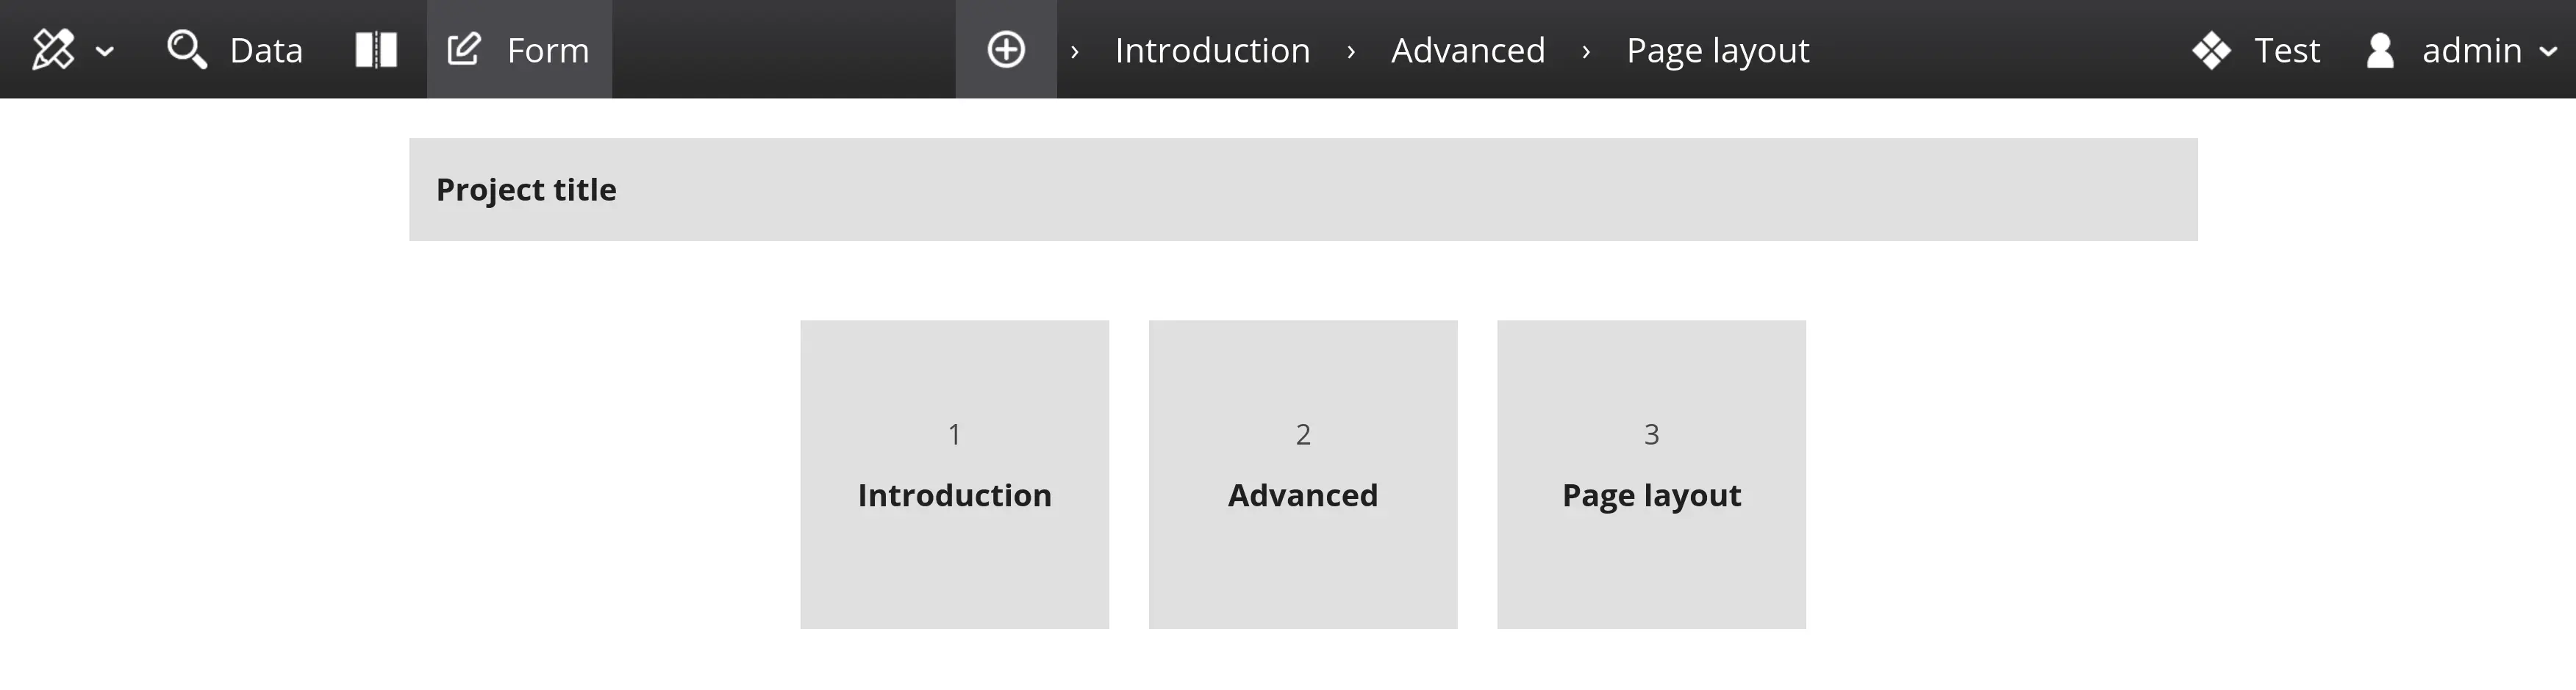
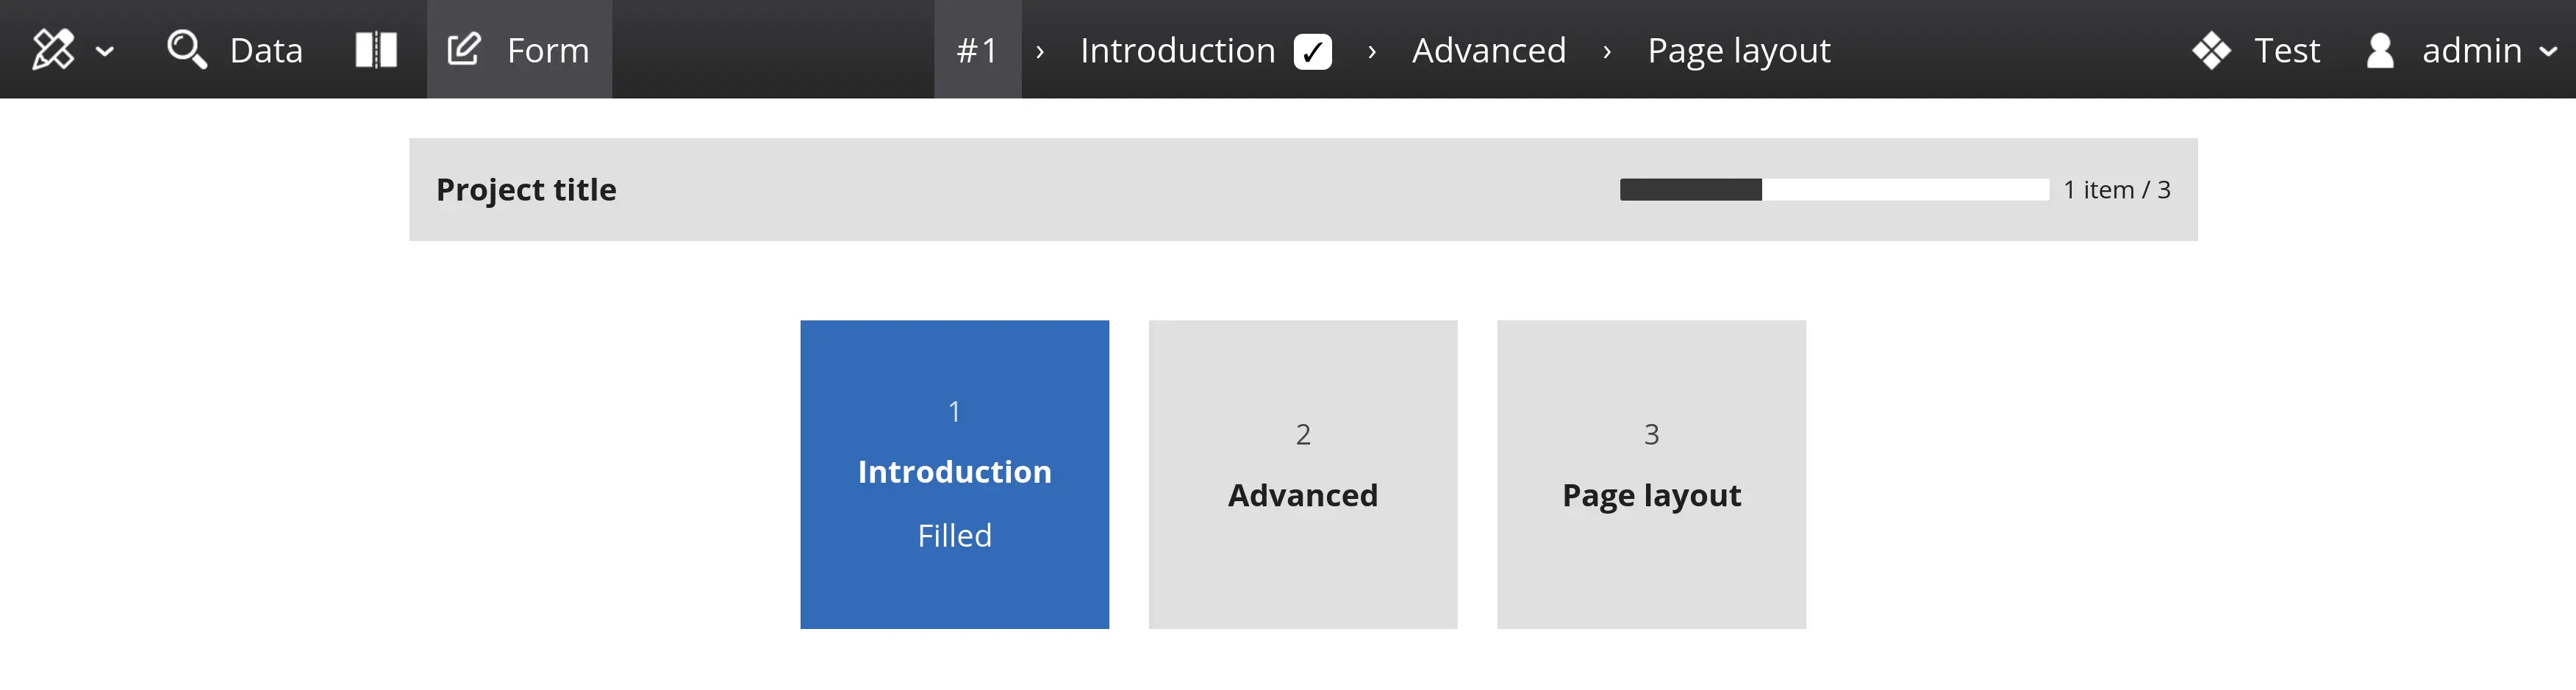
In a default project, this will open the record status page, which shows the completion status of the different pages that make up the project. The tiles correspond to the different pages:
The different elements of the status page adjust based on the completion status of the current record:
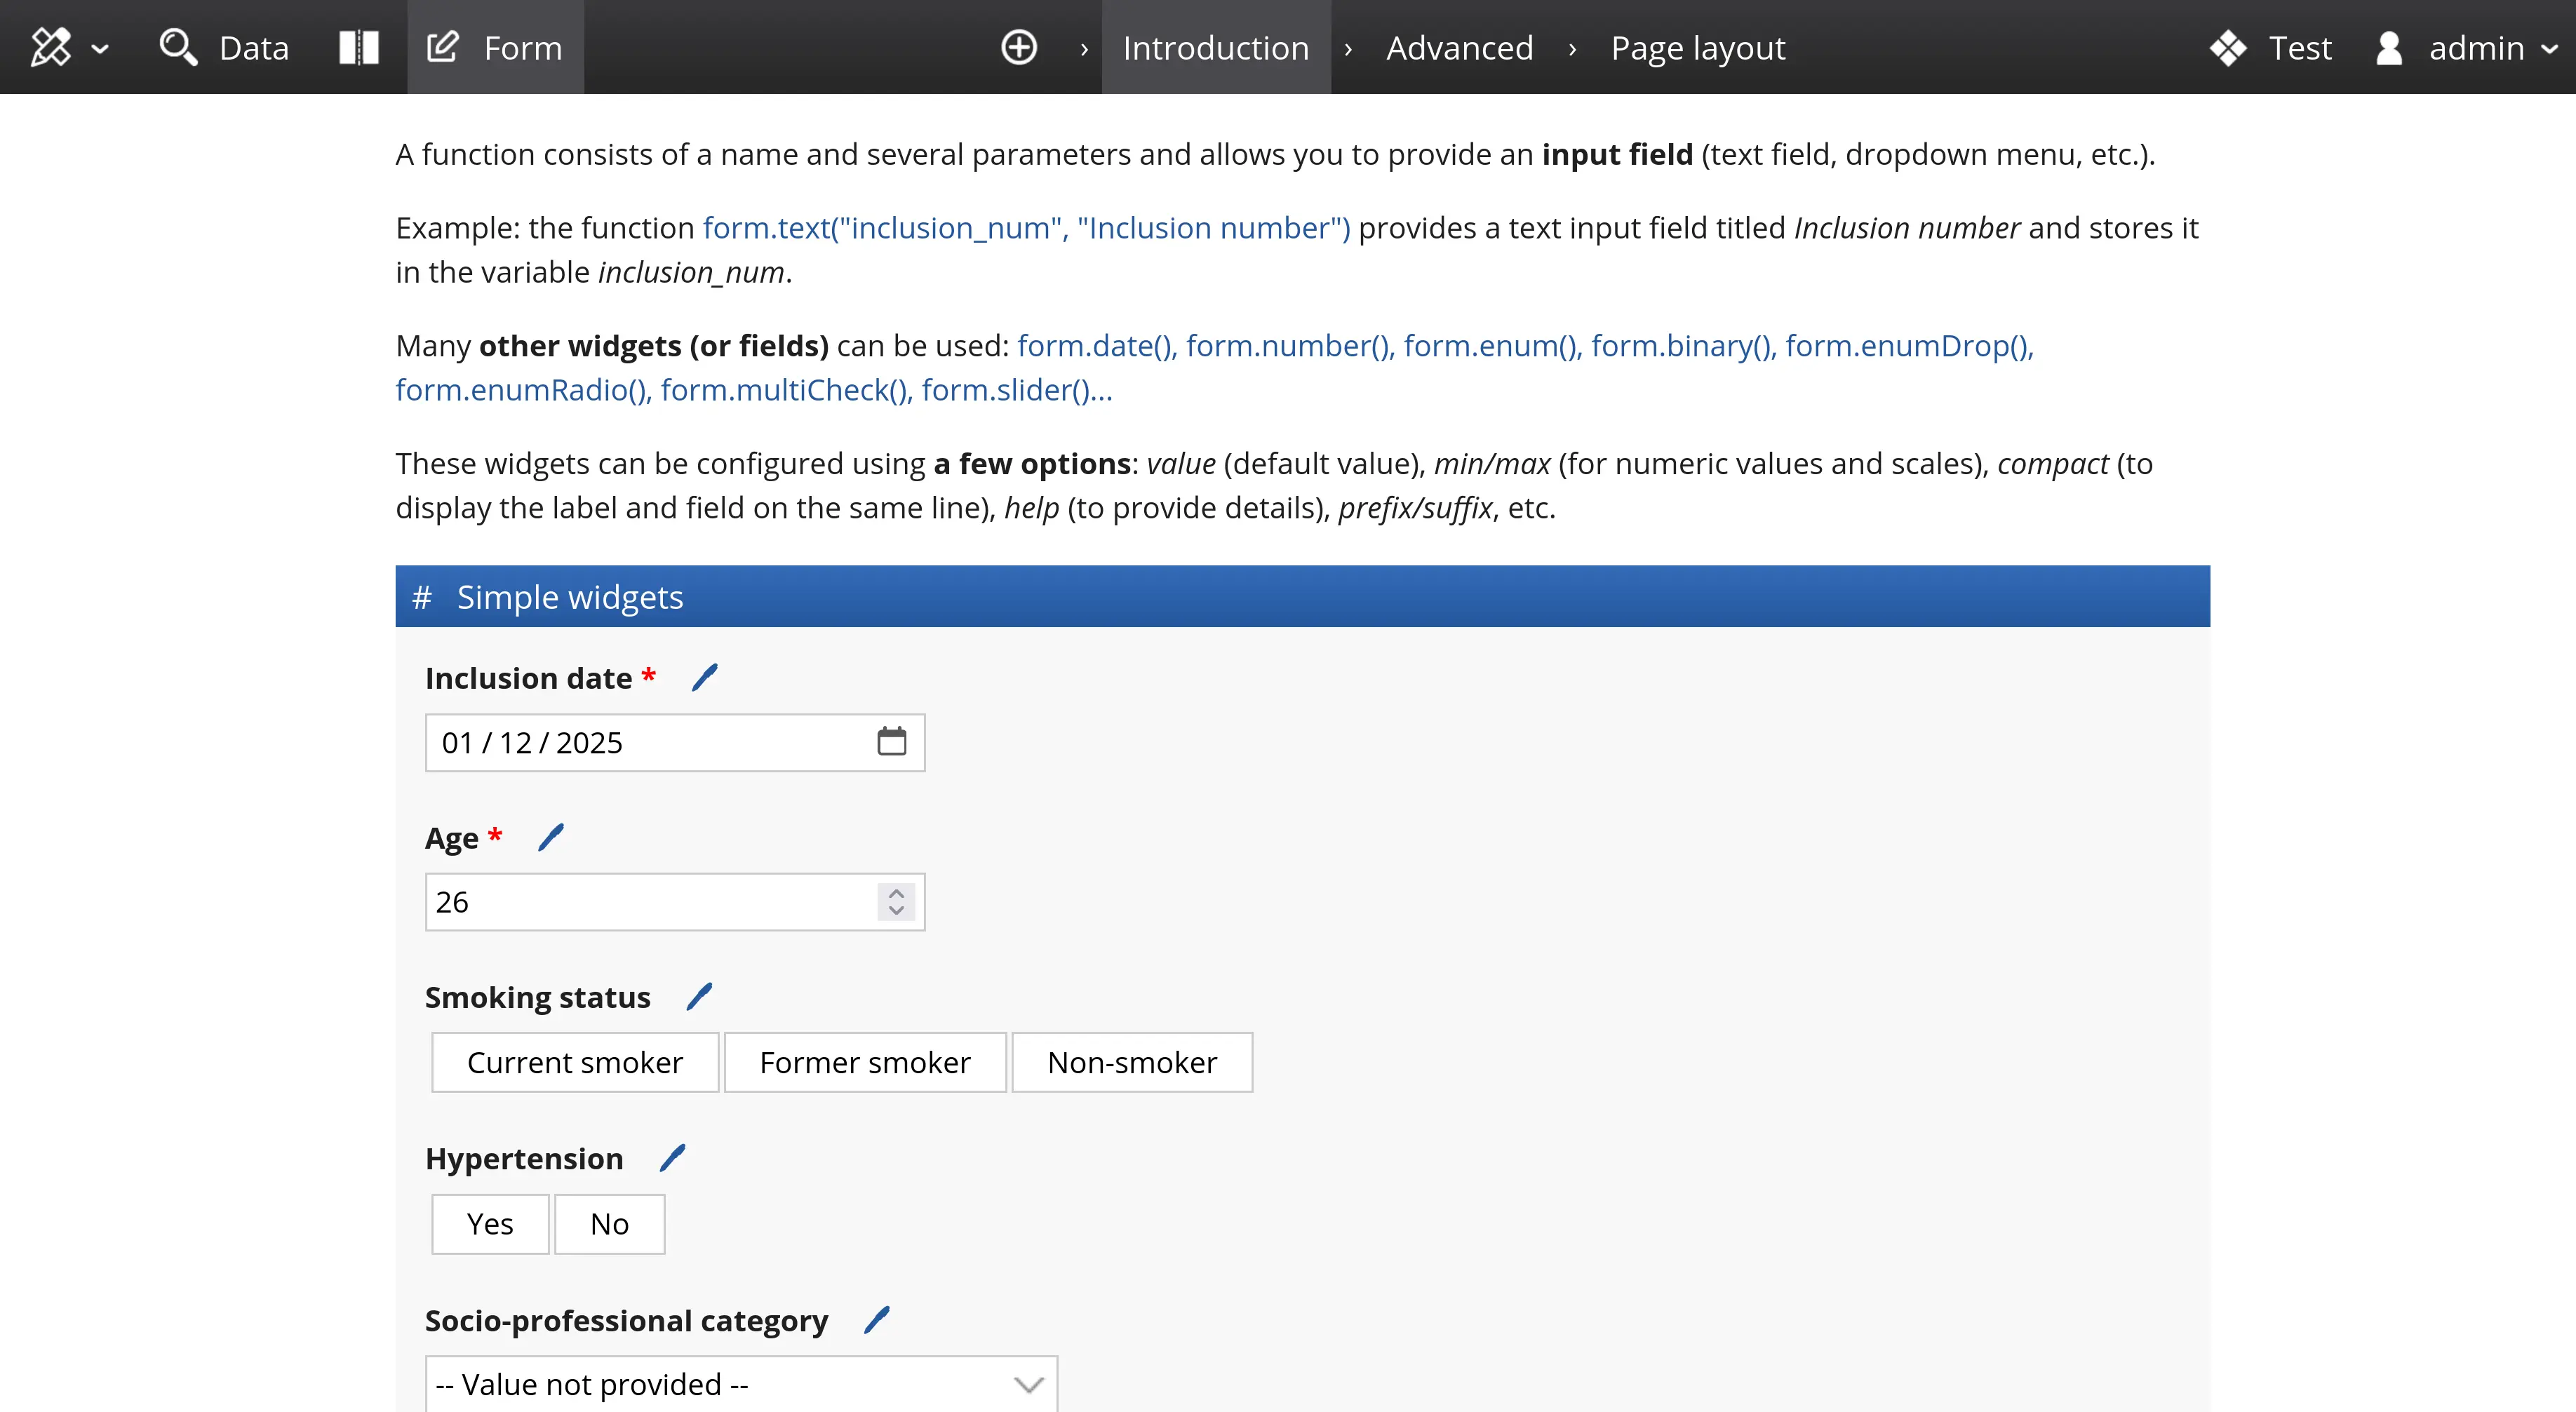
Form page
Form pages correspond to the pages you develop. With the default project, they look like this:
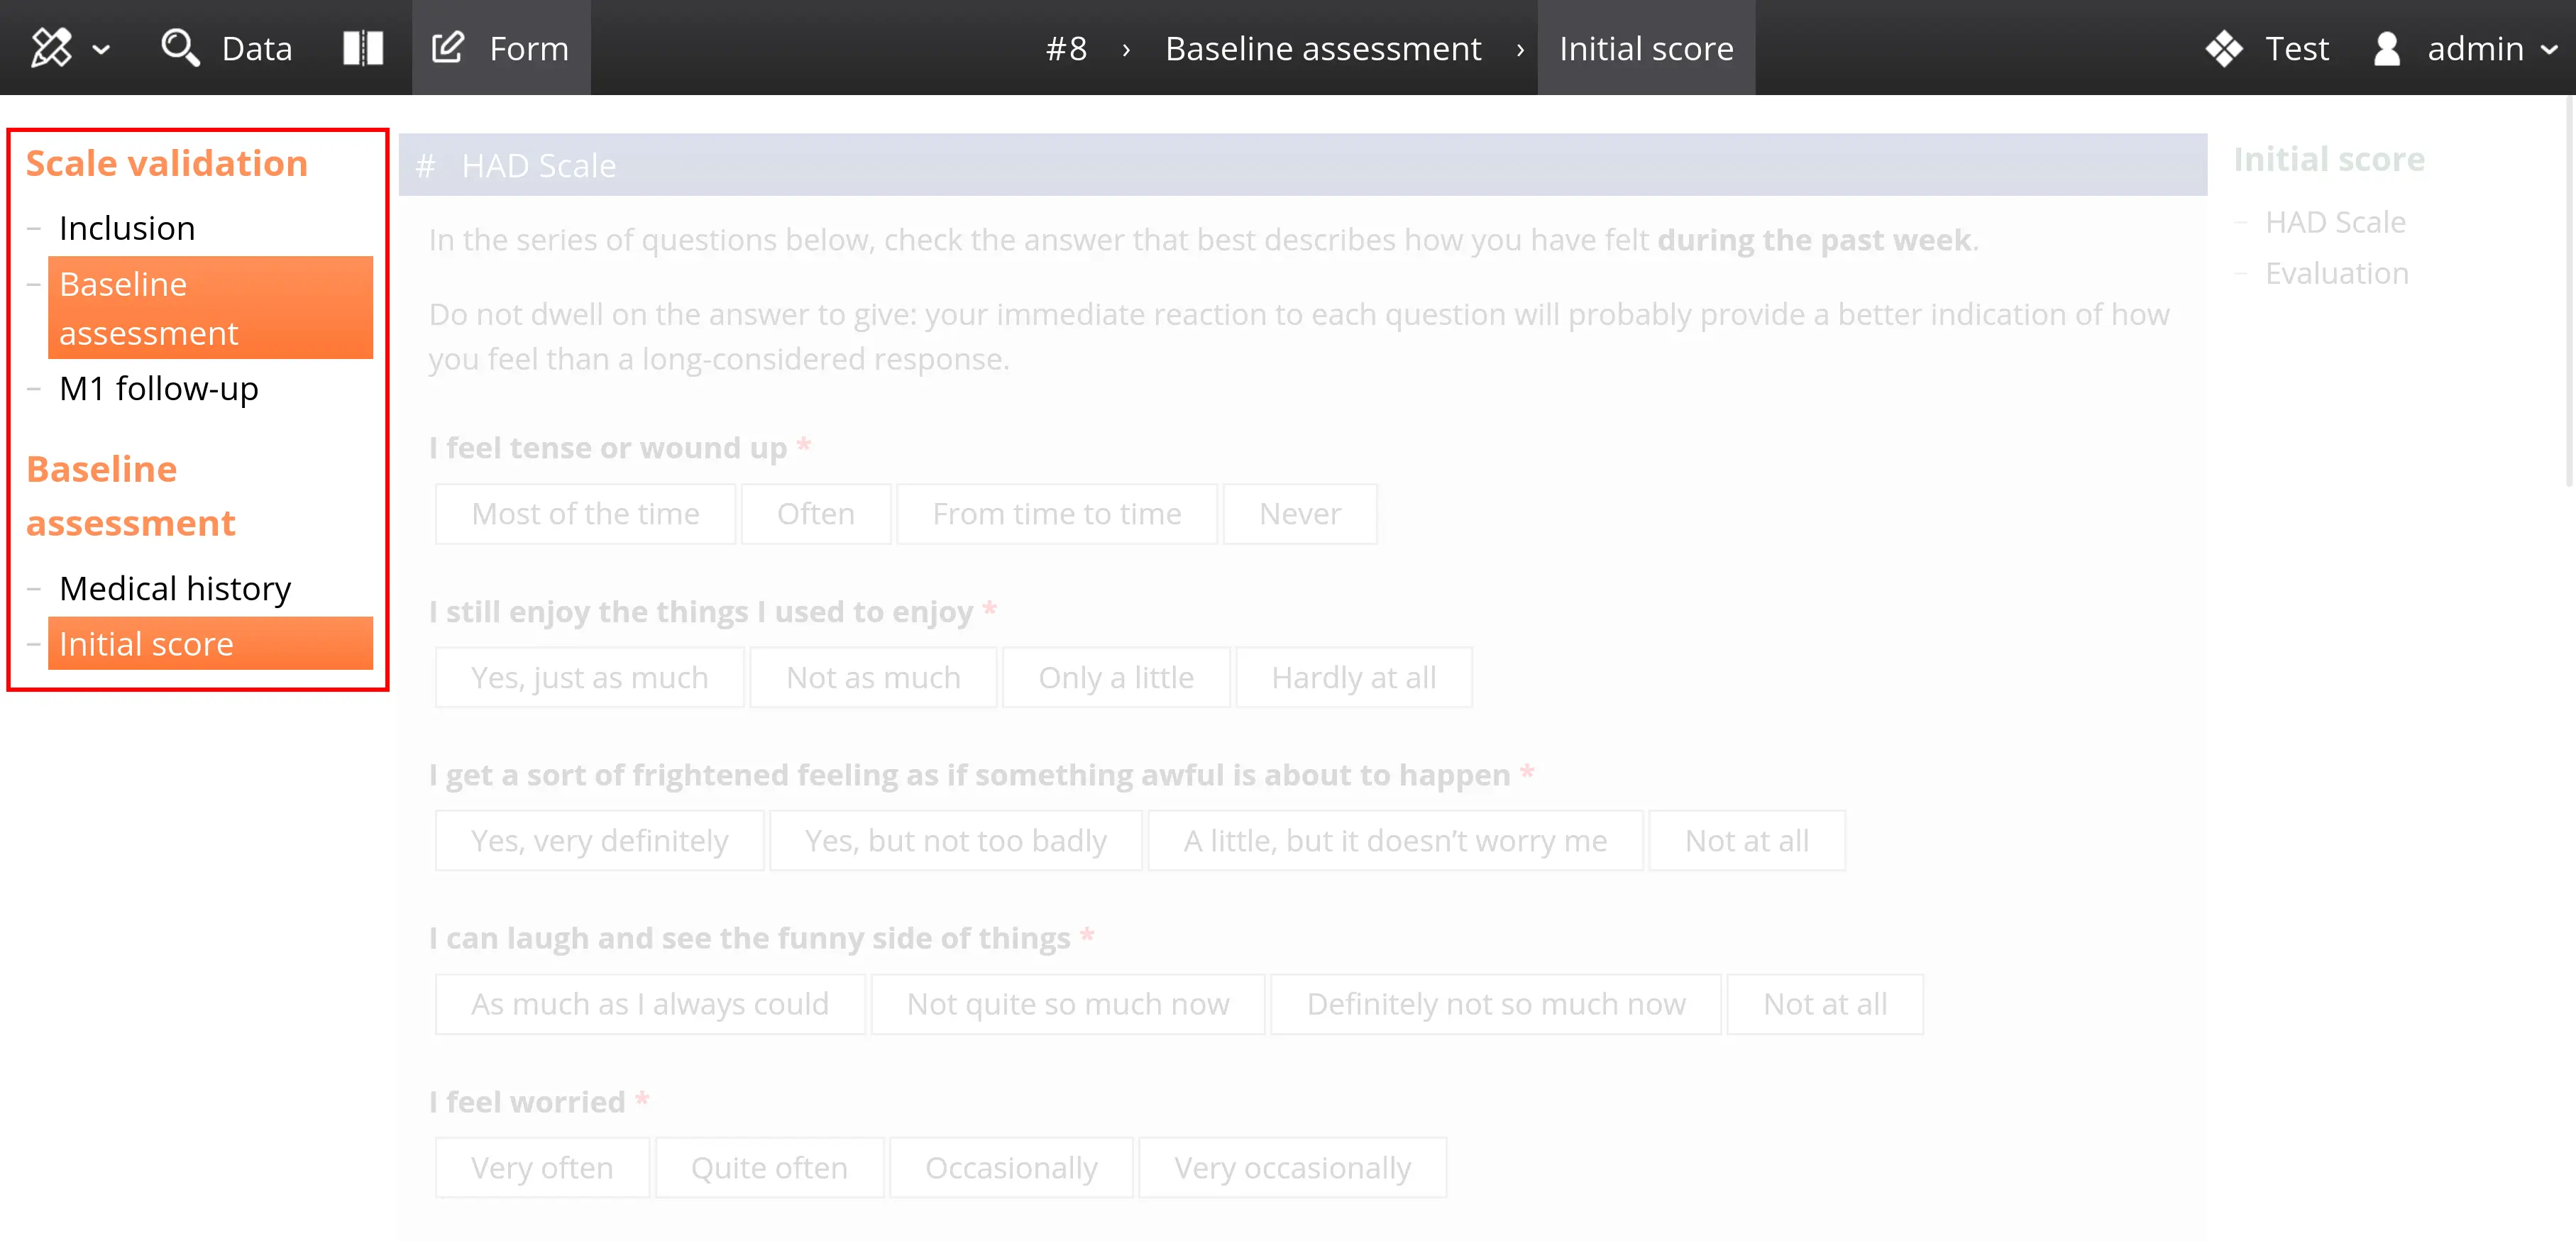
The menu adjusts automatically depending on the complexity of the project. When a form does only contains a few pages, they are accessible through the main menu, as shown in the screenshot below (red box).
For more complciated projects (with many pages or groups of pages), and if your screen is wide enough, a vertical menu appears to the left of the current page content:
Conception mode
Conception interface
Use the conception menu to enable the conception mode, which allows you to configure your project and create the various pages.
Once the mode is activated, the panels adjust and you will have access to the dual-panel view with code on the left and the form on the right:
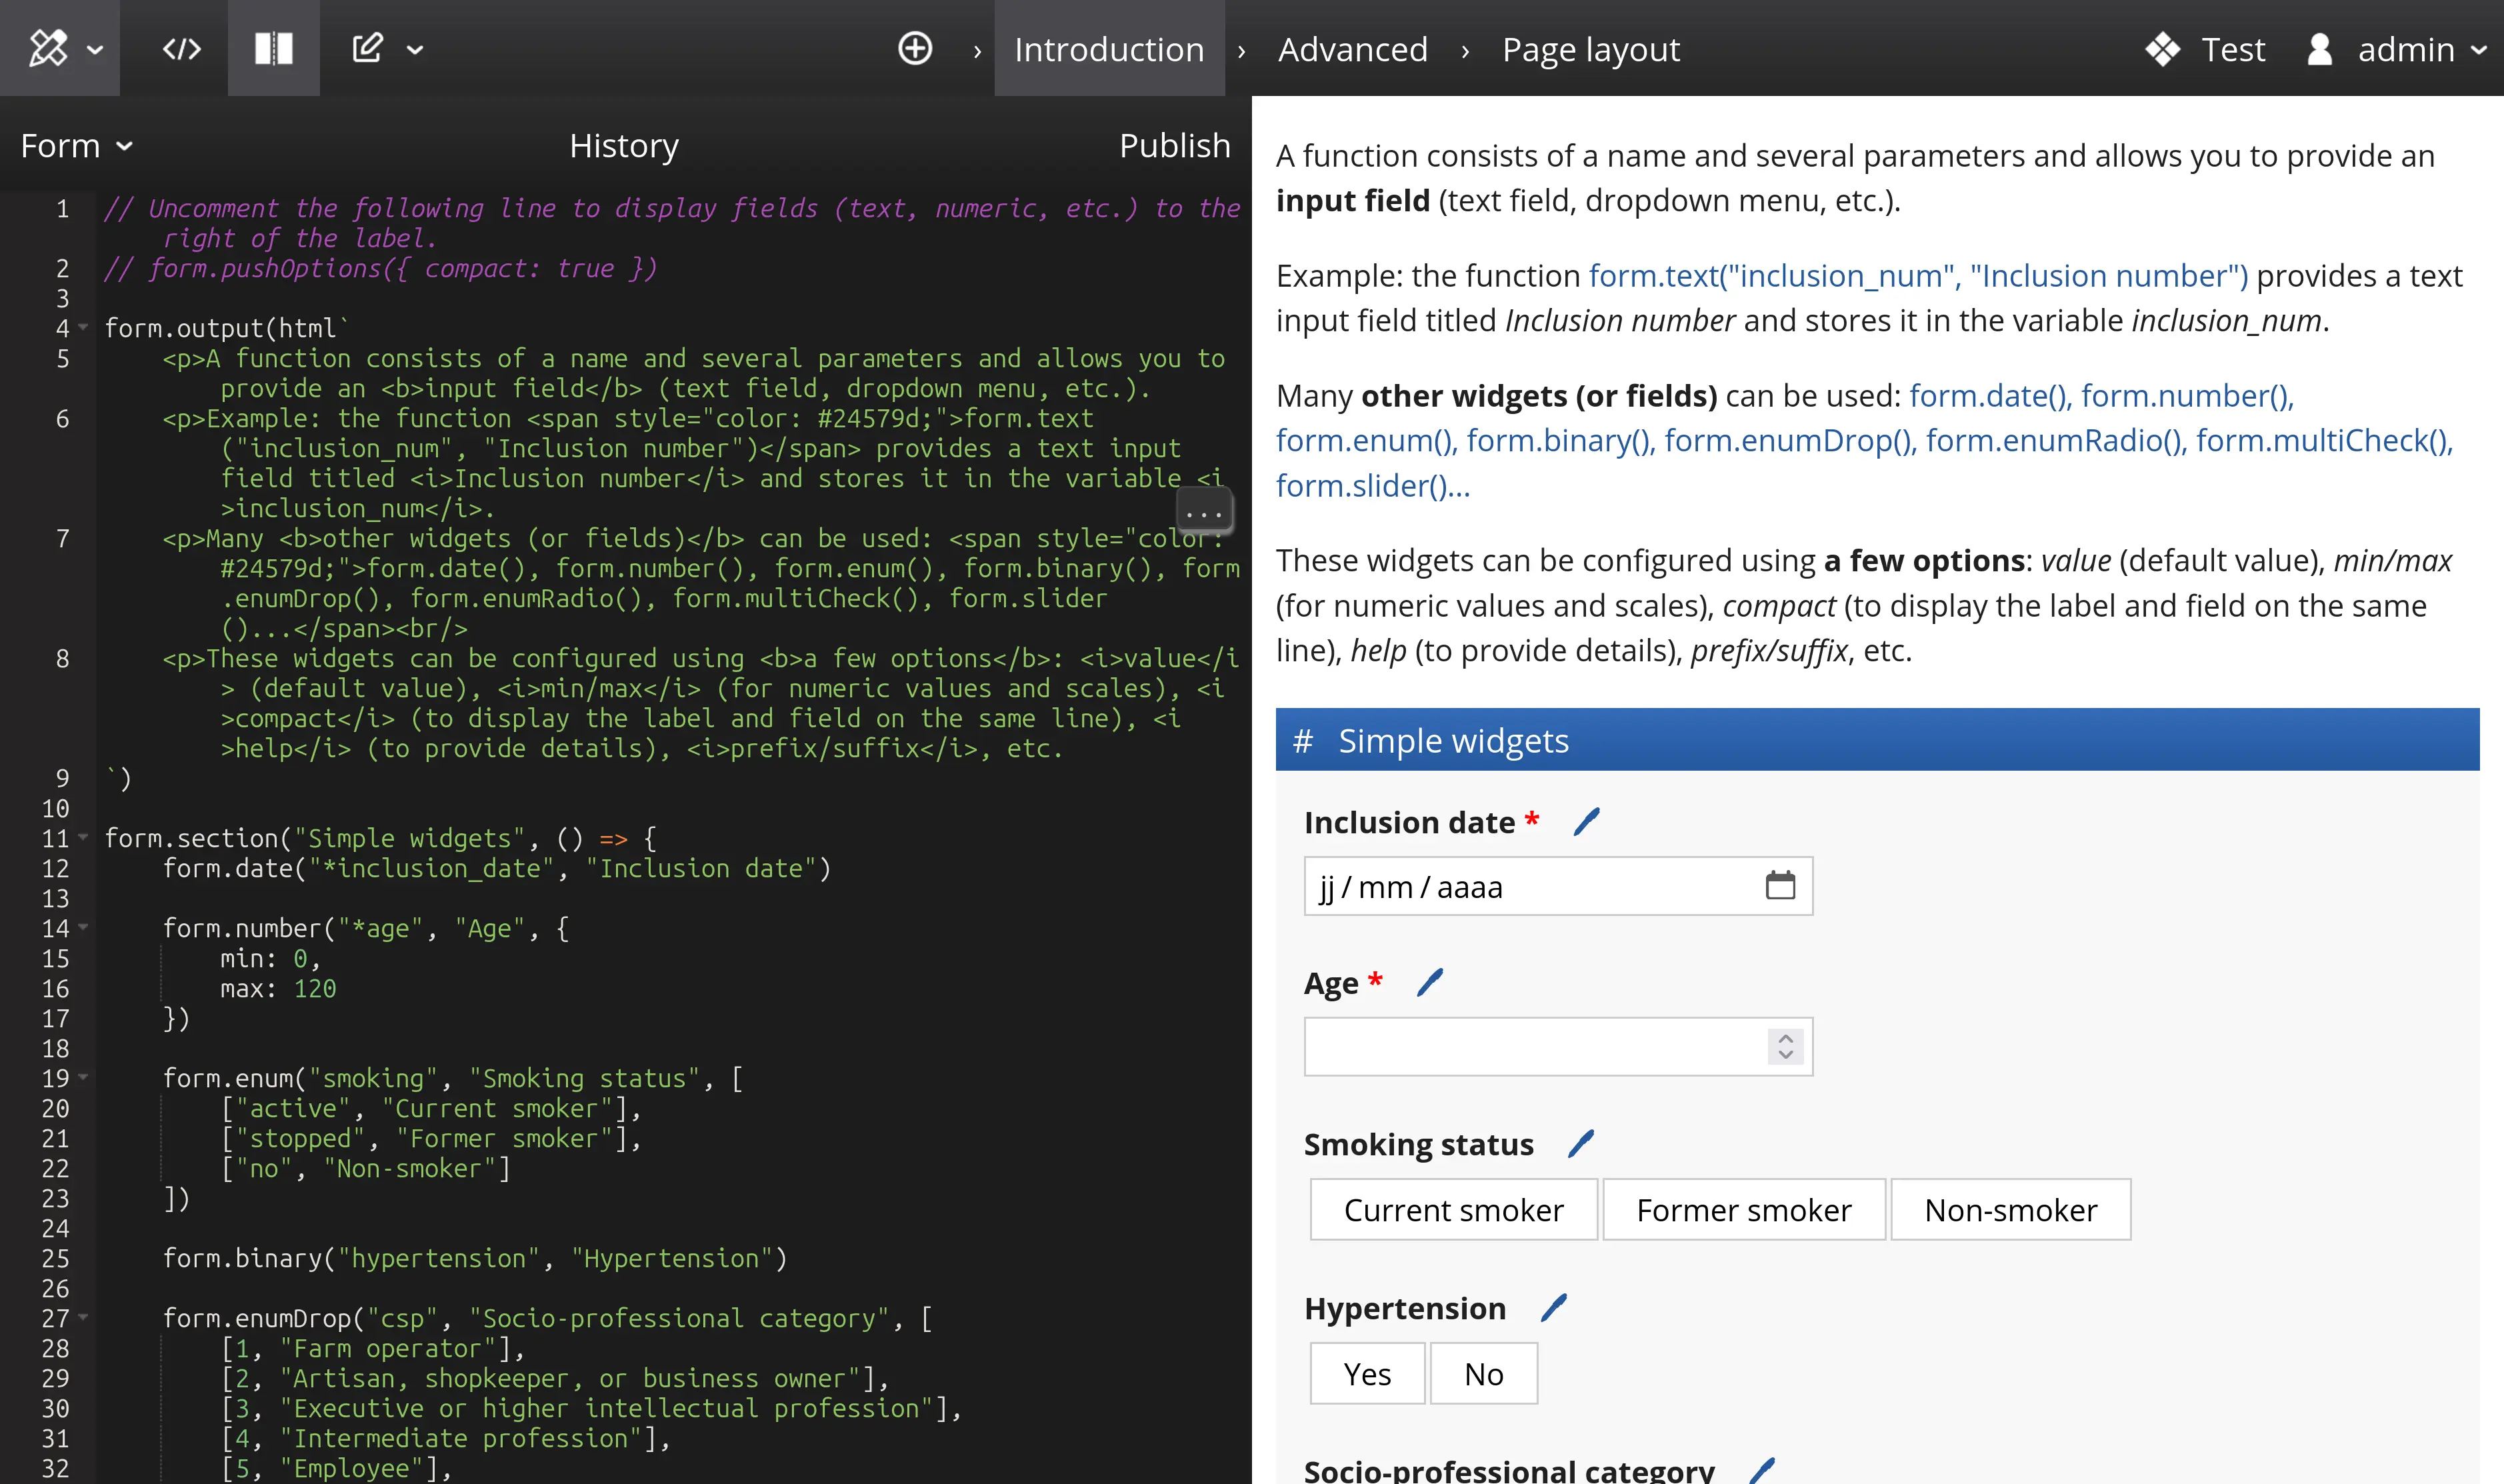
When you are on a form page, two code tabs are available:
- The Project tab allows you to modify the main script; this script defines the global organization of the project and its pages.
- The Form tab corresponds to the content of the current page.
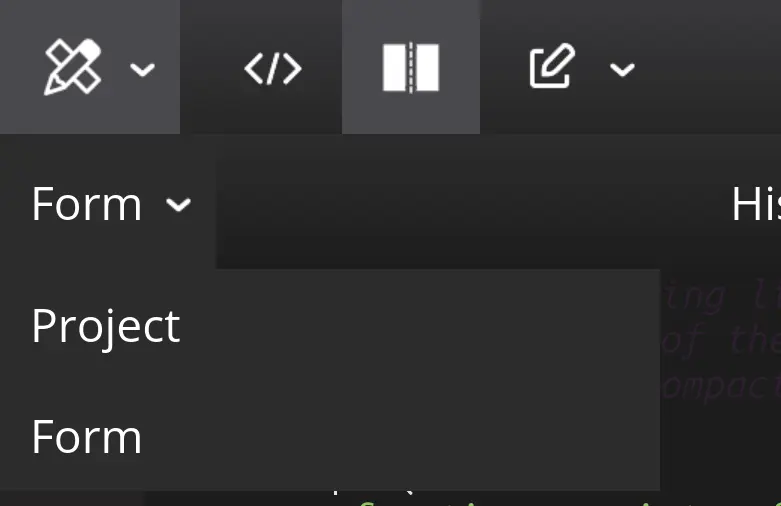
If you do not see the "Form" tab — don’t worry! You are probably on the status page, which (by default) has no code. Open a form page and the tab will appear.
Project tab
Changes made to the project code do not apply immediately; you must click the "Apply" button to test and view the changes.
The page refreshes when you apply your modifications.
Form tab
Changes made in a form/page script are applied in real time.
The widget or widgets currently being modified in the code editor are highlighted in blue in the preview panel to help you map code to the corresponding widgets.

Conception environment
In Conception mode, modifications made to the pages are only visible while in this mode. Normal users will only see the changes after you publish the project.
You can use the form normally during development, and even save data.
Be careful not to mix test data with real data if you modify the form after it has been put into production. Data saved in design mode uses a sequence number that will not be reused, even if the record is deleted!
One exception exists: if you delete all records (for example after you have finished testing and are ready for production), the sequence number is reset to its initial value, and the next record will have sequence number 1.