Administration module
The administration module is available by opening the address where you installed Goupile (for example, http://localhost:8889) and clicking on the administration link.
After logging in, you will have access to the administration panel, which looks like this:
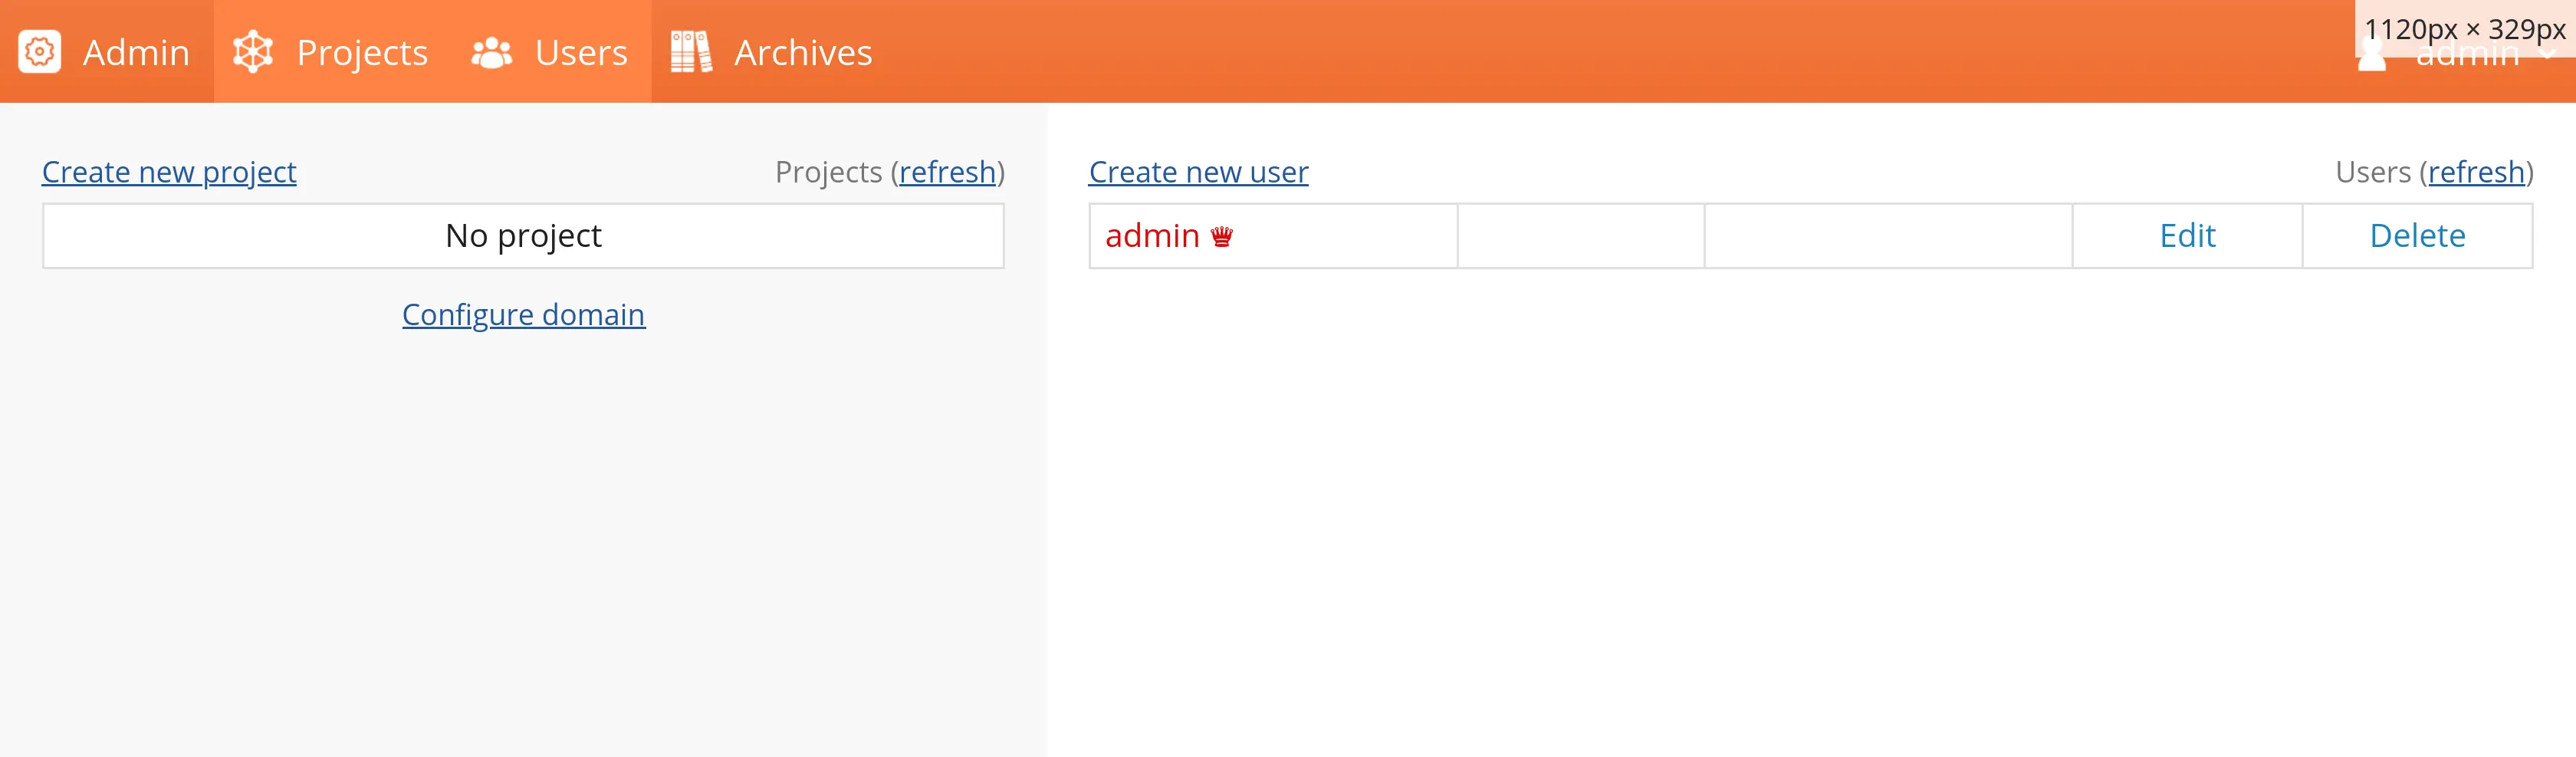
The administration panel is organized into panels, which can be displayed individually or side by side. When you log in, and if your screen is wide enough, you will see:
- The projects panel on the left
- The users panel on the right
You can switch active panels using the tabs in the main menu (red box in the screenshot).
Creating a project
Create a project by clicking on "Create a project" above the list of projects. A new window ("Create a project") will appear, in which you must configure:
- The project name (also called the project key), which defines the URL through which the project will be accessible. For example, with the name
demo, the project will be available at the path/demo/. - The project title, visible to the user in the browser’s title bar and in the center selection menu (for multi-center studies).
- The project language — each Goupile project defines the language it uses to ensure consistency between the language used in forms and the Goupile interface language.
- The default pages option helps you get started more quickly by adding sample pages to the newly created project. Without this option, the project will initially be empty.
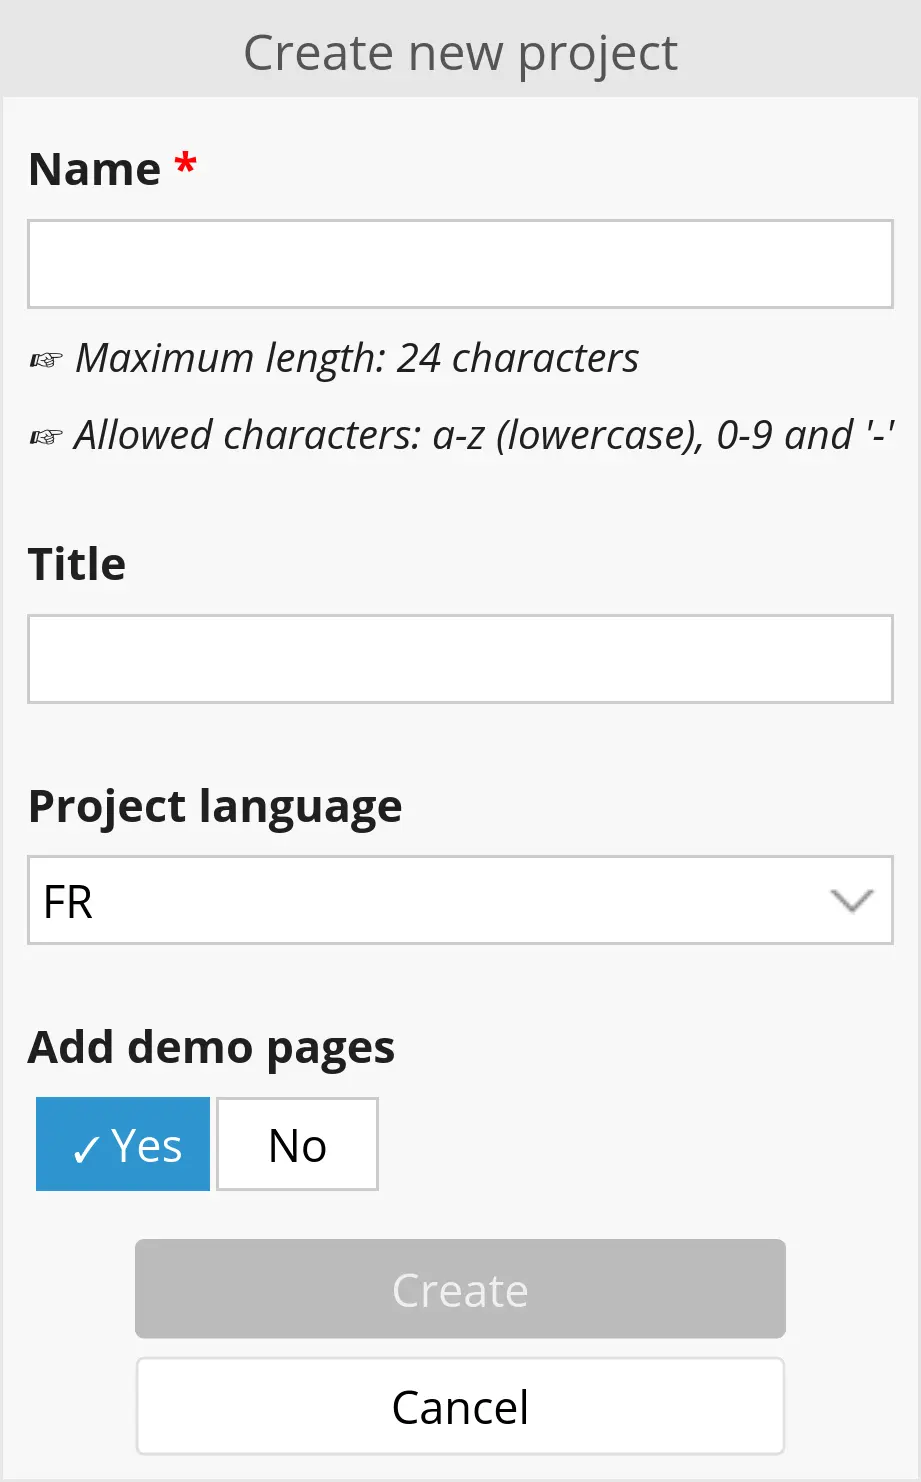
Some names are prohibited, such as admin or static, to avoid conflicts with global Goupile URLs.

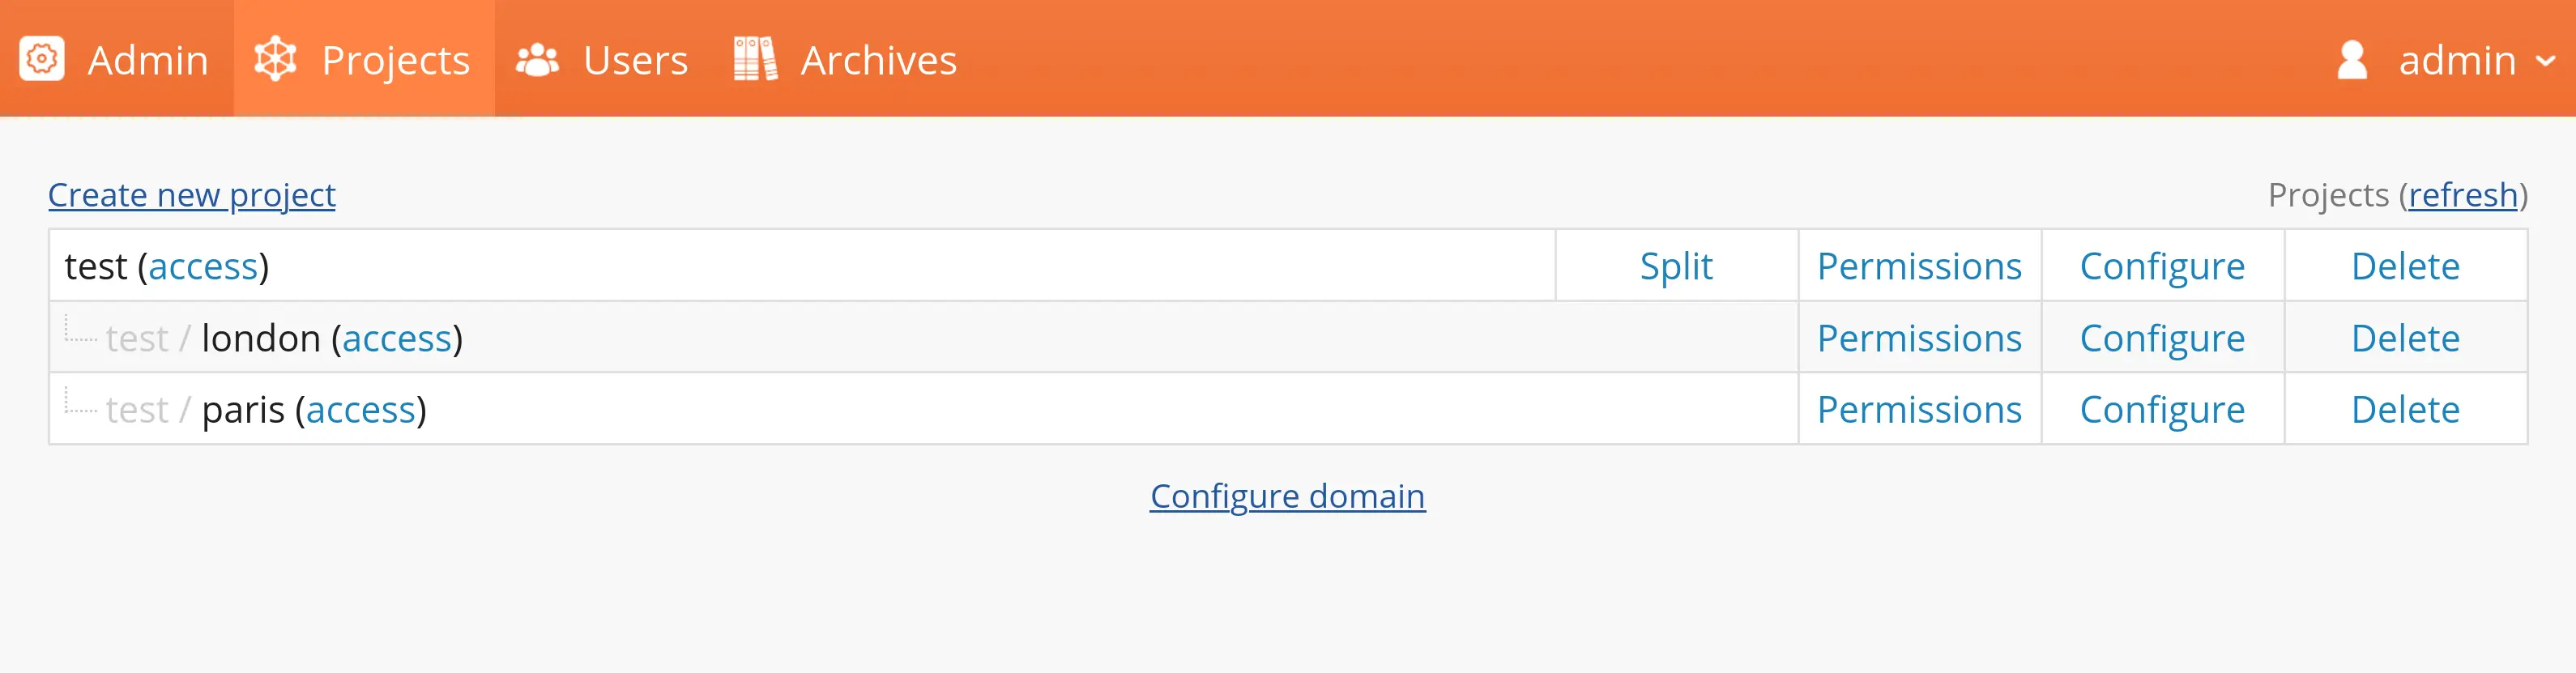
Once the project is created, it appears in the project list with several available actions:
- Access link: opens the project in another tab
- Split function: converts a single-center project (default) into a multi-center project and allows adding centers later
- Permissions function: assigns users to the project and configure their permissions
- Configure function: modifies certain settings, such as the title or allowing guest user access (for public questionnaires)
- Delete function: deletes a project
The user who created the project automatically has full permissions on it. To allow other users to participate, you must create them (if needed) and assign them to the project.
Refer to the user management documentation for more details.
Follow the access link to start creating your questionnaires, or read on to adjust certain project settings.
Configuring a project
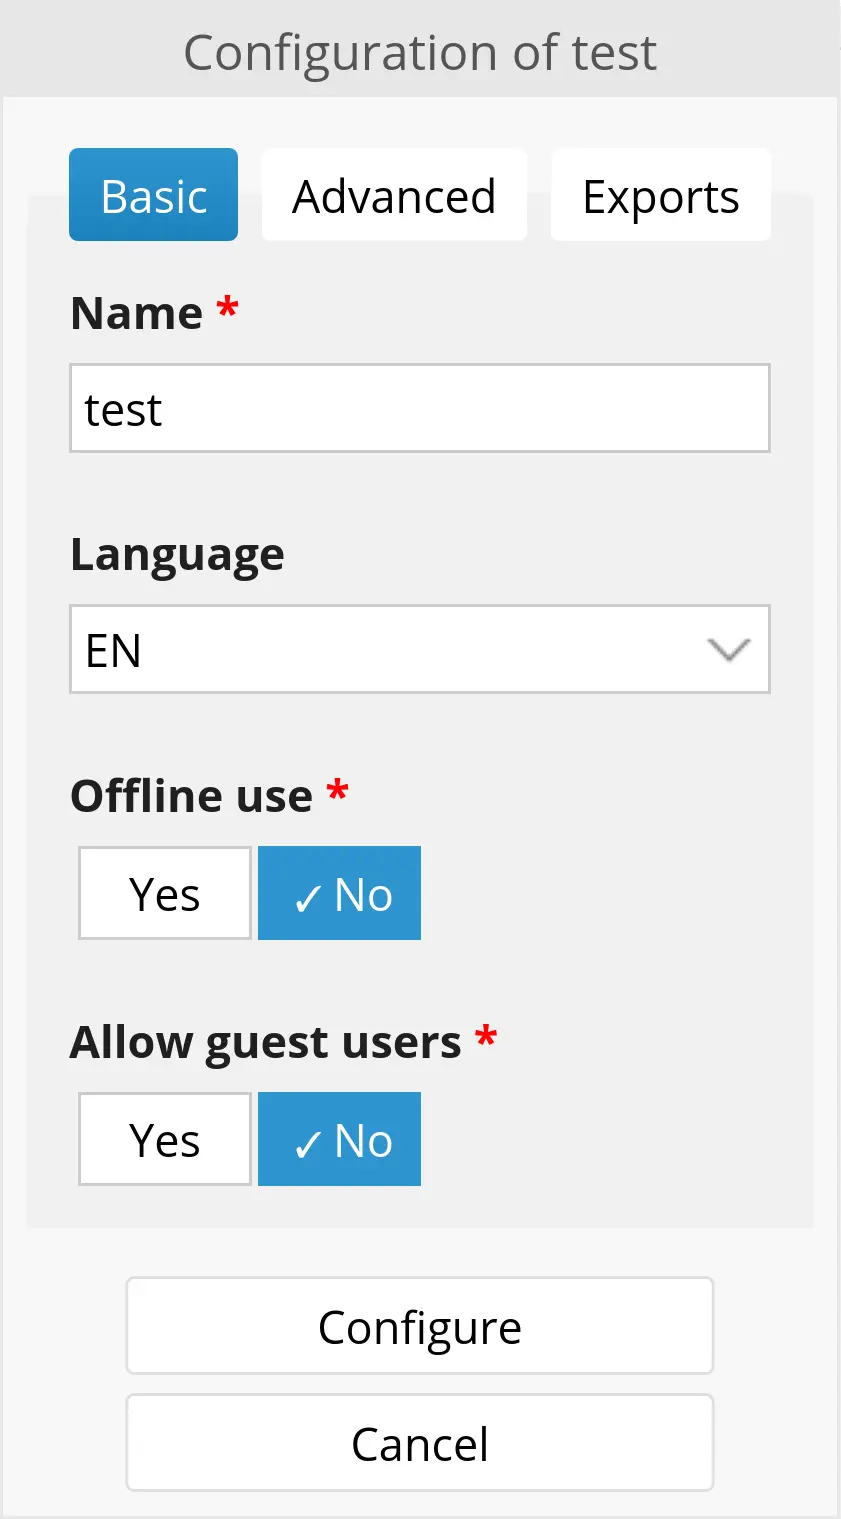
We will not cover the advanced tab settings, which are meant for solving rare issues. Avoid changing them!
Projects with guest access
By default, projects can only be opened by users assigned to them, with sufficient permissions.
You can enable guest mode to make your project public. Guests can answer your questionnaire but will not have access to data recorded by other users or guests.
Offline mode
Enable offline mode so that your survey can function without an internet connection.
Enabling this mode has several effects:
- The files required by Goupile and your form content are cached when the project is opened, the first time and after each form modification.
- Your project can be installed as a Progressive Web App (PWA) from a supported browser.
- Users who have logged in at least once online can log in (in a limited way) offline using their last used password.
Do not enable this mode for projects that do not need it, to reduce unnecessary downloads and caching of Goupile and project files.
Multi-center projects
Use the split function to convert a single-center project into a multi-center project.
Each division creates a new center, as shown in the screenshot below where two centers are created for the "test" project.
Centers within a project share the form scripts (and thus the data collection and export structure), but their data is separated into different databases:
- Identifiers (such as sequence numbers) are specific to each center
- Exports are performed separately
- User permissions (except for development permissions) must be defined for each center
After converting to a multi-center project, user permissions are split between:
- Development permissions must be defined at the root project level
- Data-related permissions must be defined for each center
Scheduled exports
You can configure the project to perform an automated export on specific days at a fixed time. Each export will be available in the exports list under the monitoring table.
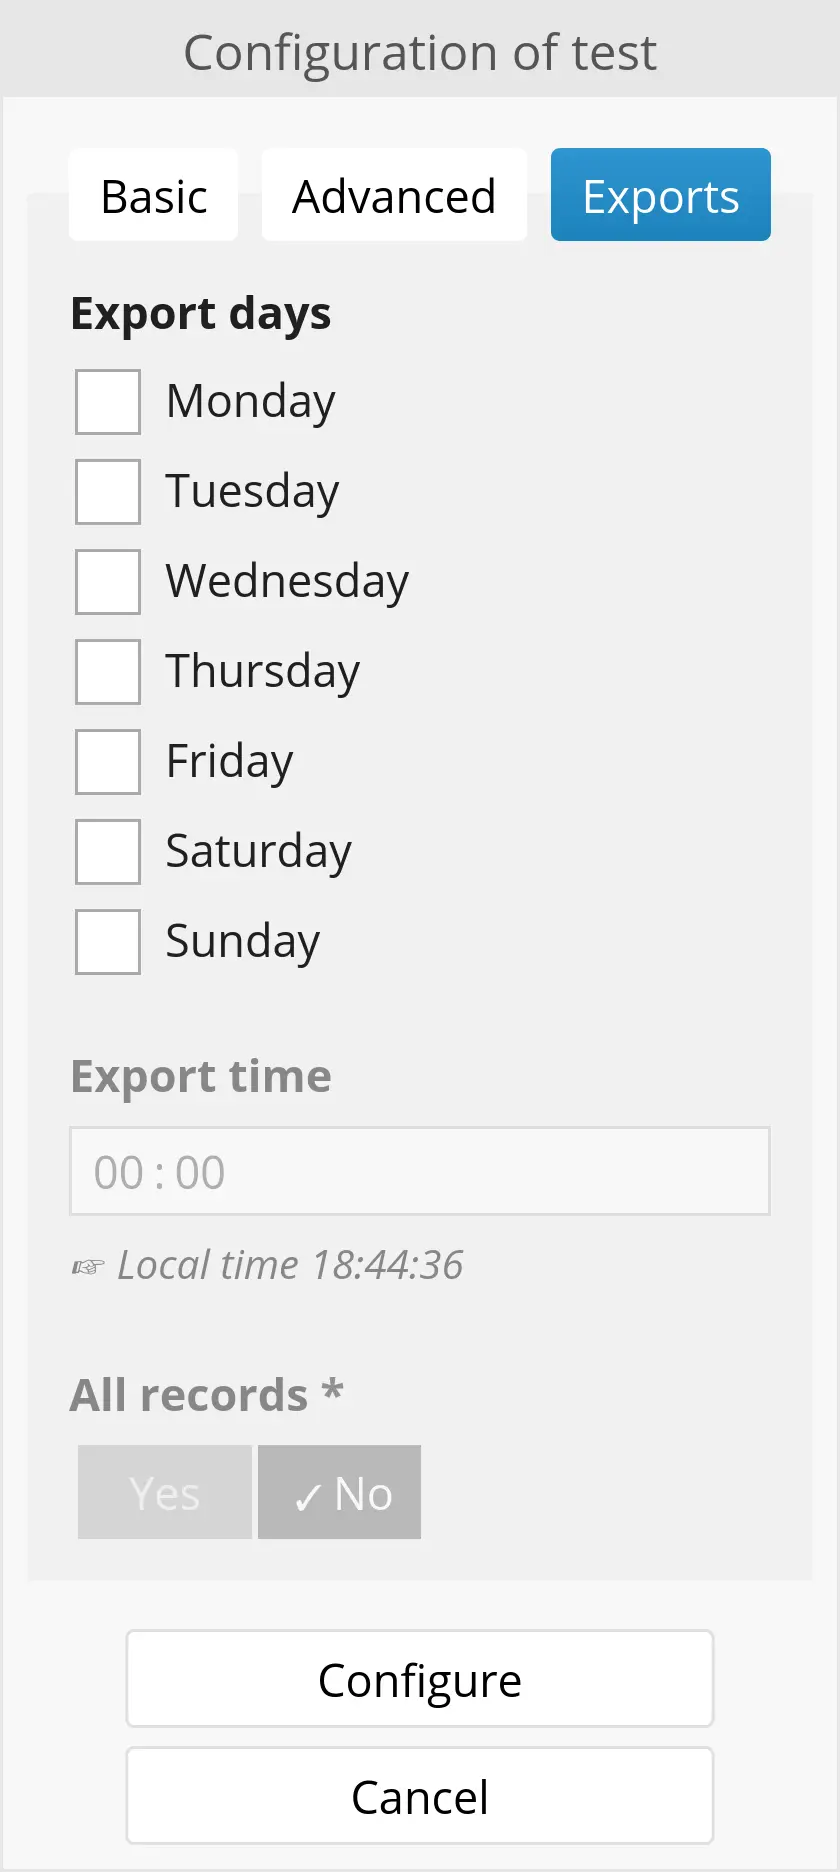
You can choose to export all records each time, or only new records since the last automated export.
Data archiving
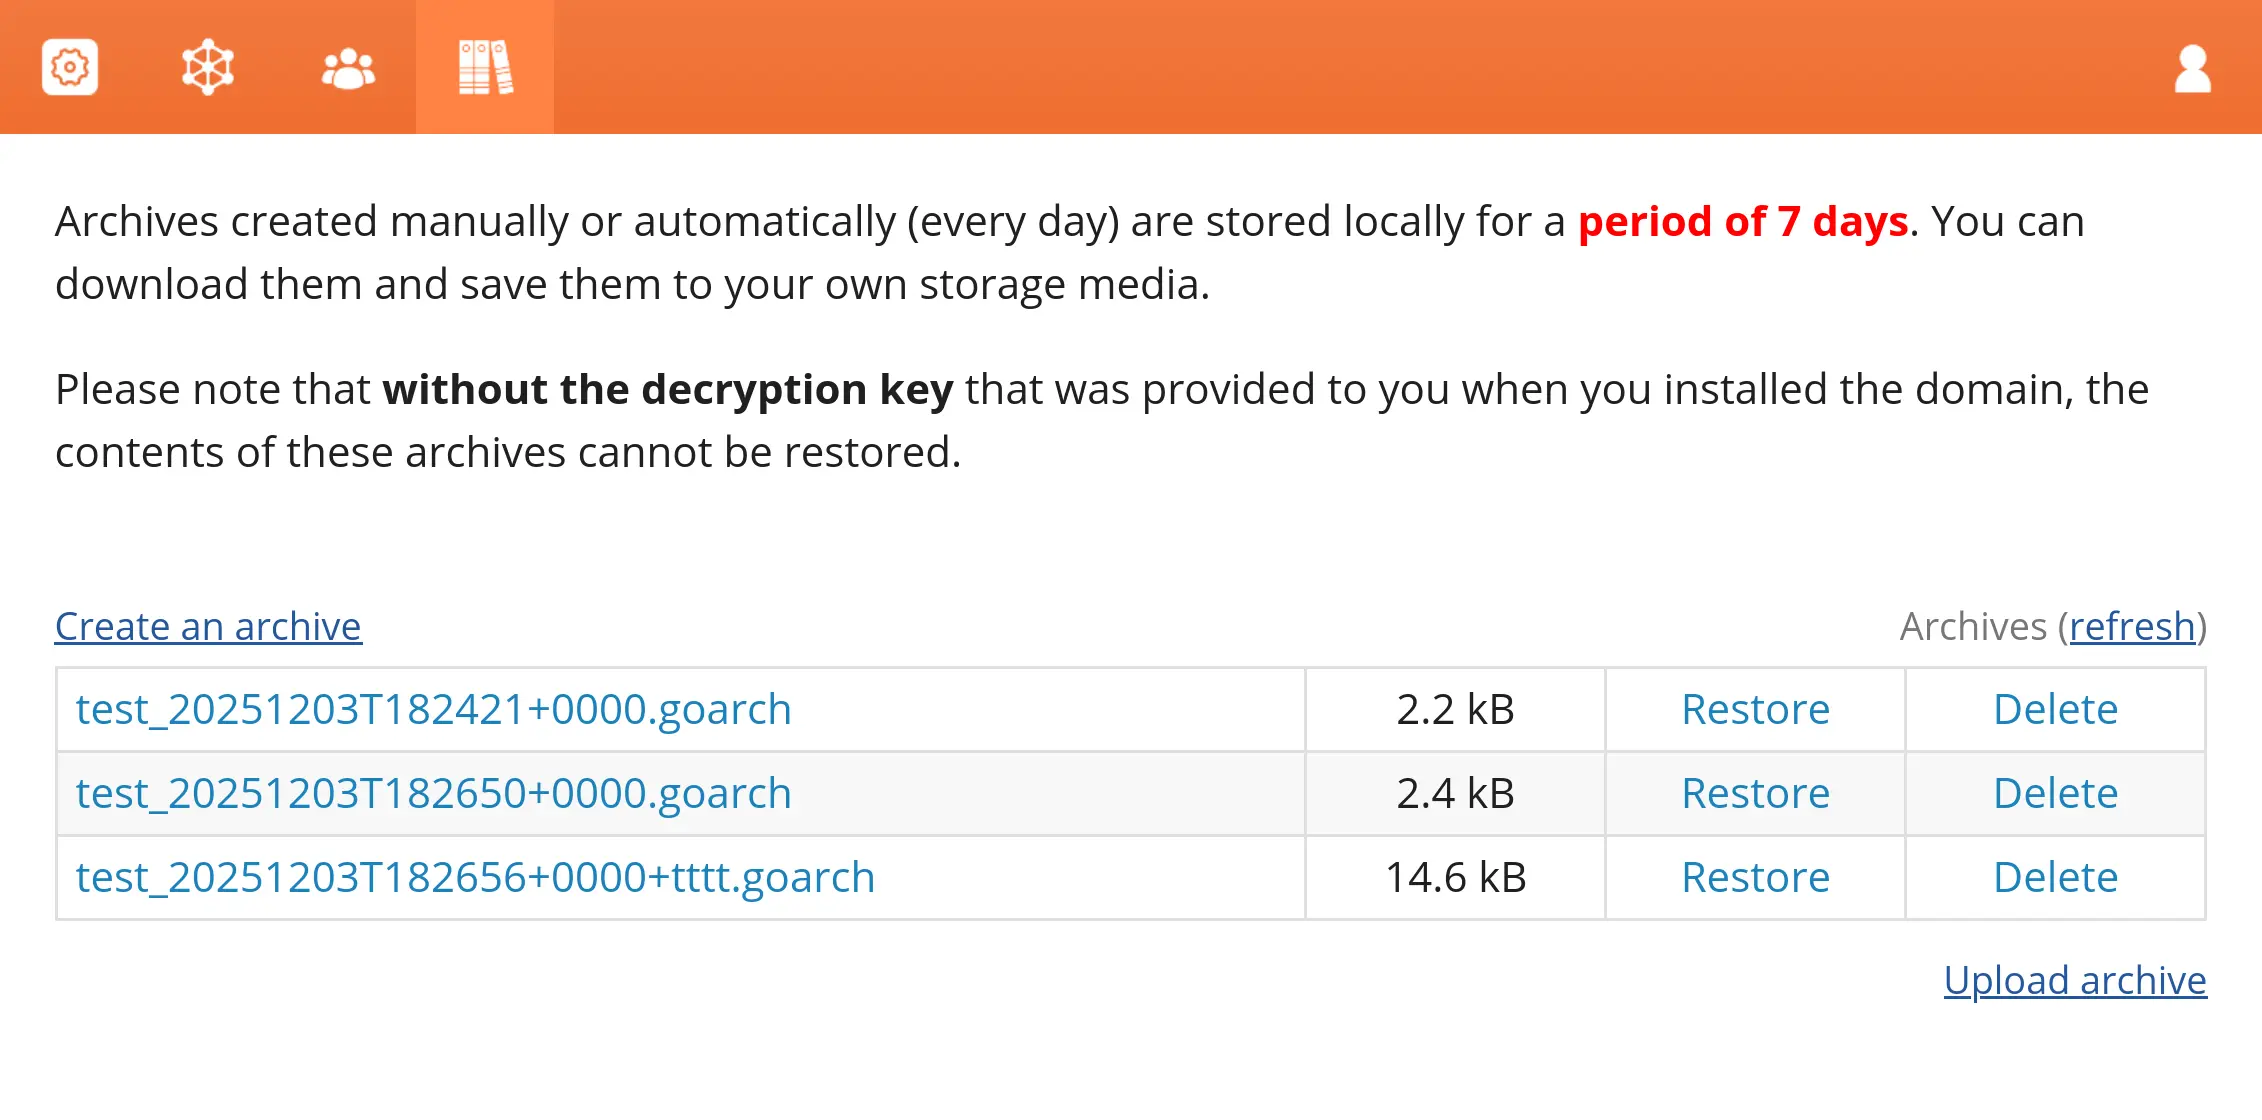
Archives record the state of projects, users, and data at the time they are created.
They are created at different times:
- A daily archive is created every night, including all projects
- An archive can be created manually with the “Create Archive” button
- An archive is created just before a project is deleted
Archives created within the last 7 days are kept on the server before being deleted. However, you can download them (files with the .goarch extension) and store them securely to restore their contents if needed.
To open or restore an archive, you must keep the restoration key provided during Goupile installation.
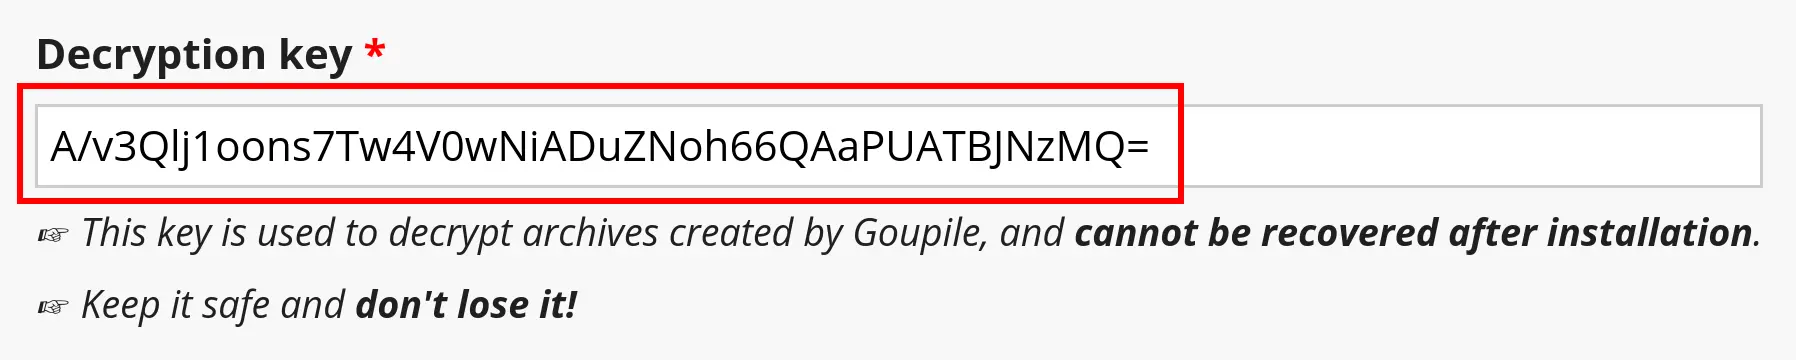
Without this key, restoration is impossible and the data will be lost. Moreover, it is strictly impossible for us to recover this key if you lose it.